Motion and timeline
Trailer templates
Six ready-made films and ads to make your own.
The trailer templates are six gallery pieces made to be turned into your own films and ads: a product film, a film trailer, a logo sting, a photo story, a sale ad and a release teaser. Each keeps its words, colours and timing where you can change them without touching code, has a place for your own logo, photos or product, and comes with variations. Change the words, swap in your files, retime the beats, then render it in every shape you need.
The six templates
| Template | What it is | Made for | Length | Your own files |
|---|---|---|---|---|
| Hero Shot | A 3D product film with its own music and sound effects: a can lit out of the dark, features called out on it, an end card. | 16:9 | 12 s | A 3D model of your product, and label artwork |
| Opening Night | A film trailer: intertitles in smoke, glimpses of a metal title, then the title slams in. | 16:9, letterboxed | 15 s | None |
| Logo Sting | A brand intro: a whirlpool of sparks settles into your logo, then a glint and the tagline. | 1:1 | 6 s | Your logo |
| Postcards | A travel story for Reels and Stories: five photos, five cuts, captions and an end card. | 9:16 | 15 s | Five photos |
| Flash Sale | A retail ad: the words slam in, the discount counts up, products pop up with their prices cut. | 4:5 | 10 s | Three product images |
| Drop Day | A release teaser: a neon portal glitching on the beat, with every word a text layer. | 9:16 | 10 s | None |
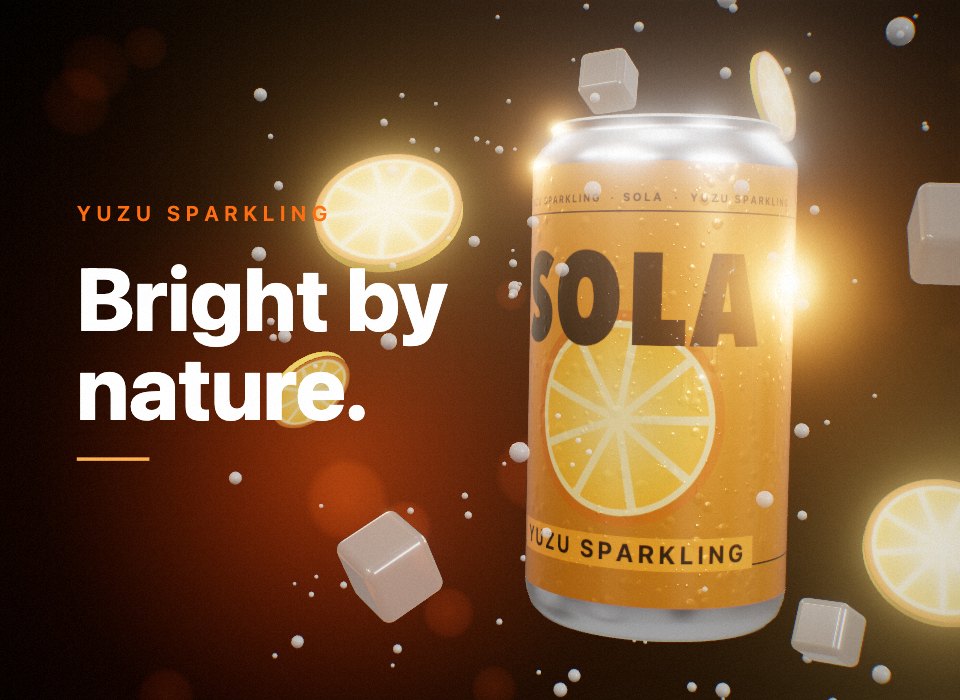 Hero ShotWebGL 3DA product film with its own music and sound effects: lit out of the dark, features called out on the can, an end card that sells it.Open in the studio
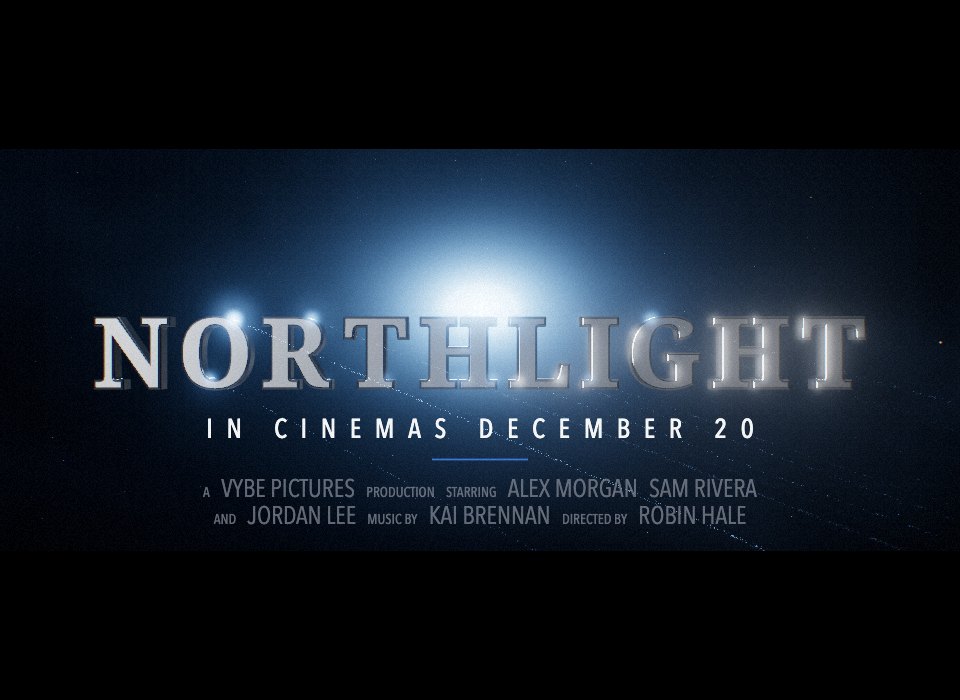 Opening NightWebGL 3DA film trailer: intertitles in the smoke, cuts to the title up close, then the title slams in.Open in the studio
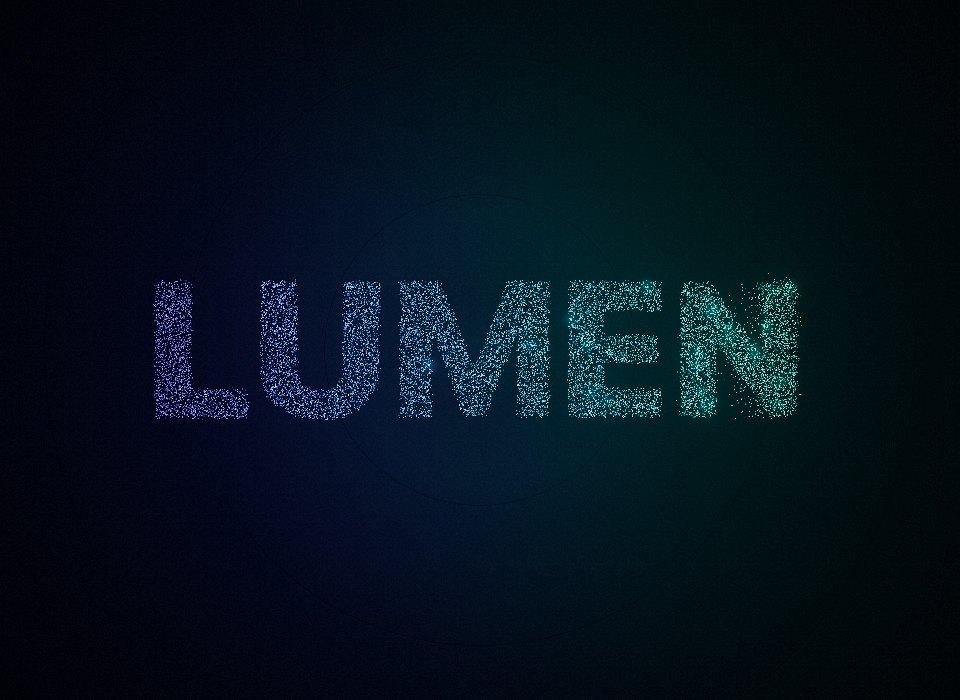 Logo StingWebGL 3DA brand intro: a whirlpool of sparks settles into your logo, then a glint and the tagline.Open in the studio
 PostcardsCanvas 2DA travel story for Reels: five photos, five cuts, captions and an end card. Swap in your own photos.Open in the studio
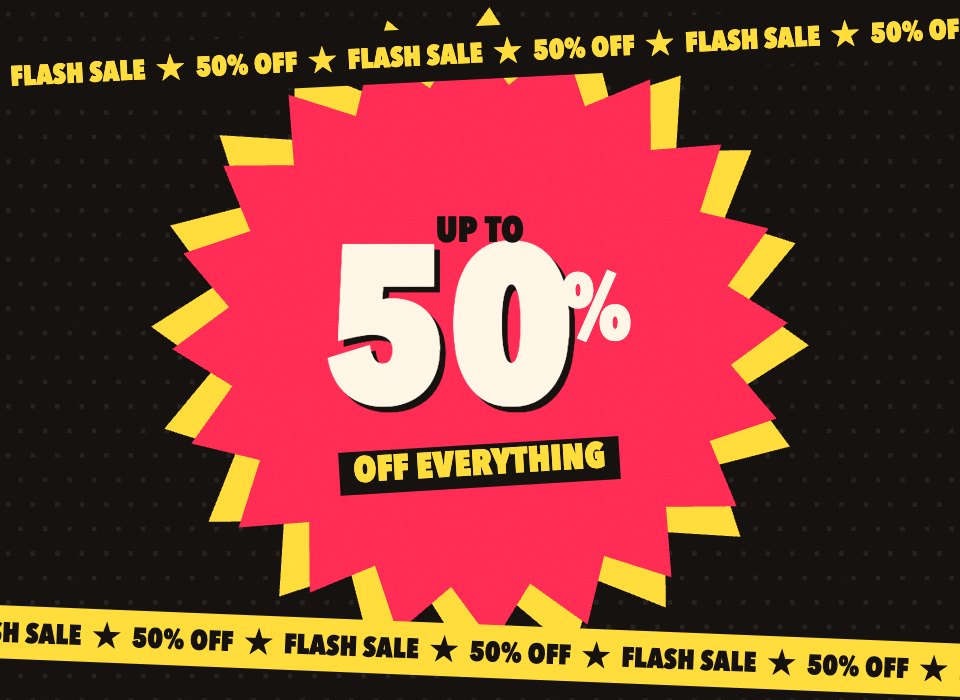 Flash SaleCanvas 2DA retail ad: the words slam in, the discount counts up, products pop up with their prices cut.Open in the studio
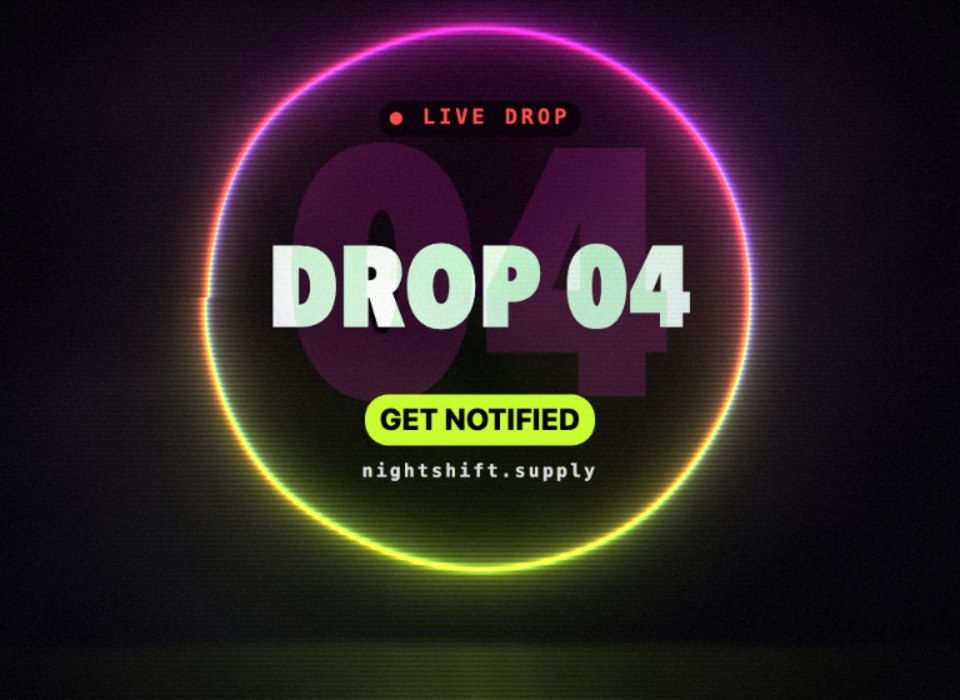 Drop DayGLSLA release teaser: a neon portal glitching on the beat, and every word a layer you can edit.Open in the studio
Opening a template
Open the Gallery
Press G, or click Gallery on the rail.
Pick Trailers
The Trailers filter shows the six templates, each marked Trailer.
Click one
It opens on the stage, and on a desktop the Motion panel opens on its timeline, framed to the template's shape.
Opening a gallery piece adds it to the piece you have open, as a new version. Click New piece first to give it a piece of its own. The cards on this page open each template as a new piece.
How the templates are put together
The five built on 3D and 2D keep their controls in three folders in Parameters (P):
- Copy holds the words: headlines, captions, prices, the call to action, the web address.
- Look holds the colours, the typeface and switches for the look. Hero Shot's Titles leaves the words out (for a page that sets its own) and Daylight puts it on off-white paper; Opening Night's Letterbox switches its black bars on and off, and Logo Sting's Typeface sets the type its logo is spelt in.
- Timeline holds the beats that the timeline keys. A beat runs from 0 to 1 as it comes in and from 1 to 2 as it goes, so you retime the film by dragging keys rather than changing code.
Drop Day is a shader, so its words are text layers instead, on the Motion panel's Layers tab. The timeline keys the shader's Portal, Glitch, Flash, Zoom and Spin, and the layers' blur, scale and turns, which makes it a good place to see how layer tracks work.
Every frame is worked out from the parameters and the time alone, so the templates scrub backwards as well as forwards, and their layouts work in any shape.
Changing the words
Switch Record off
The Motion panel opens with Record on, and on the Timeline tab it keys every parameter you change, words included. Click Record to switch it off, or pick another tab such as Layers.
Open the Copy folder
Press P for Parameters and open Copy.
Type your words
Click into a field, type, and click away to keep it. In Opening Night's Billing block, the parts of the line are split by a dot (·).
For Drop Day, select each text layer on the Layers tab, or on the stage, and type into its text box. See Text, image and video layers.
Retiming the beats
On the Timeline tab, each control in the Timeline folder has a track. Drag a beat's keys along its lane to bring it in earlier or later, or select a key and change its easing. Set Length to make the whole film longer or shorter, then move the last keys to match. A few of the beats:
- Shot in Hero Shot moves the camera between its framings: 0 is the lid, 1 the label, 2 the hero shot and 3 the end card. In Opening Night, Shot is the cut, and its keys hold, so each one is a hard cut.
- Slide in Postcards runs from 0 to 5, one unit per photo. Drag its end key to make the story faster or slower, or add keys to give one photo longer.
- Assemble, Lock and Glint in Logo Sting bring the sparks in, set them into the logo and run the highlight across it.
See Keyframes and tracks for working with keys.
Using your own files
Four of the templates have a slot near the top of their code for your files. Each slot is empty to begin with, so the template draws its own.
| Template | Slot | What to put in it |
|---|---|---|
| Hero Shot | PRODUCT_MODEL | A 3D model (GLB) of your product, which takes the can's place. |
| Hero Shot | LABEL_ART | A wide image, about 2:1, which wraps the can as its label. |
| Logo Sting | LOGO | Your logo, in place of the Brand word it spells out otherwise. The sparks take its shape and colours. A PNG with a transparent background works best. |
| Postcards | PHOTOS | Up to five photos, in order. Any slot left empty is painted for you. |
| Flash Sale | PRODUCTS | Up to three product images. Cut-outs on a clear background look best. |
Upload your files
Open Assets (A) and upload them. This needs an account; see Your asset library.
Attach them to a message
Select the files and click Use in prompt.
Ask Perlin to use them
Say which slot they go in, for example "use this as the logo" or "put these five photos in PHOTOS, in this order". Perlin fills the slot for you.
Logos and images can also go over any template as layers: drag one from Assets onto the stage.
Sound
Hero Shot comes with a music bed and five sound effects (a ring pull, a whoosh, an ice clink, a pop and a logo hit), placed on its timeline as sound clips, each on a track of its own. Drag them to retime them, or swap in your own; see Sound clips. Volume in its Sound folder sets the level of the whole mix. Click the piece once to hear it in the studio.
Variations and rendering
Every template comes with variations: Hero Shot's Wild Berry and Lime Mint flavours, Opening Night's Gold, Logo Sting's Ember and Ice, Postcards' Night owl, Flash Sale's Black Friday and Summer, and Drop Day's Daybreak and Single. Change them or add your own on the Variations tab; see Variations.
Then click Render. Tick every shape you need: the templates lay themselves out again for each one, so a 16:9 film becomes a 9:16 reel without moving anything. See Rendering video.
Related
Still stuck, or something here out of date? Tell us