Motion and timeline
Text, image and video layers
Lay headlines, logos and video over a piece, and move, size, blend and animate them.
Layers sit over the piece: a headline, a call to action on a button, a logo in the corner, a video for an intro or an end card. Each one has a time it comes in and goes, a way of entering and leaving, and a position, size, turn, opacity, blend mode and filters that the timeline can animate.
Positions and sizes are shares of the frame, sized against its shorter side, so a layer sits in the right place in 16:9, 9:16, 1:1 and 4:5 alike. Layers show in everything the piece makes: renders, quick clips, PNGs, wallpapers and its thumbnail.
Open the Motion panel with M and pick the Layers tab. Its buttons add Text, Image, Video and Piece layers (for pieces, see Loading pieces onto a piece).
Adding a text layer
Click Text
A layer saying "Your headline" appears in the lower part of the frame, with a shadow. It rises in at the start and stays to the end.
Type your words
Write in the text box at the top of the Text section. Line breaks you type are kept.
Style it
Pick a Font and a weight, then set the Size, Colour and Align. The options are below.
Place and time it
Drag it on the stage, or use Transform. Set when it comes in and goes, and how, under Timing.
Text options
| Option | What it does |
|---|---|
| Font | Sans, Serif, Mono, Condensed or Rounded, or any font you have uploaded to your assets. Beside it, the weight: Regular, Medium, Semibold, Bold, Extra bold or Black. |
| Size | The height of a capital, as a share of the frame's shorter side. |
| Colour | The colour of the letters. |
| Align | Left, Centre or Right. |
| Line width | How wide a line may run, as a share of the frame's width. Longer text wraps onto the next line. |
| Spacing | Letter spacing, tighter or looser. |
| Capitals | All capitals sets every letter in upper case. Shadow puts a soft shadow under the words. |
| Button | A pill behind the text, for a call to action or a caption, in the colour you pick. Fill sets how solid the pill is. |
Adding a logo or an image
Click Image and pick one of the images in your asset library. If you have none, upload a logo or picture in Assets (A), or make one with Generate assets. You can also drag an image from Assets straight onto the stage, where it lands as a layer. Its Size is its width as a share of the frame's shorter side; the height follows the image.
A PNG with a transparent background makes the cleanest logo. Uploading needs an account; see Your asset library.
Adding a video layer
Click Video and pick a clip from your library (upload MP4, MOV or WebM to Assets first), or drag one onto the stage. From the menu, the layer starts at the playhead and runs to the end of the timeline.
- Fill the frame covers the whole frame with the video, cropped to it: a backdrop, an intro or an end card. Off, it sits at its position at its Size.
- Loop plays it round again when it is shorter than its layer; off, it holds its last frame. On the timeline, dashed lines show where it goes round.
A video layer plays muted, from the layer's start. A render shows it frame for frame. Put its sound, or any other, on the timeline as a sound clip.
Handling layers on the stage
While the panel is open, each layer showing can be picked on the stage.
| To | Do this |
|---|---|
| Select a layer | Click it. Double-click opens it on the Layers tab. |
| Move it | Drag it. Its middle snaps to the frame's middle lines. |
| Move it along one axis | Hold Shift while dragging. |
| Move it without snapping | Hold ⌘ (Ctrl on Windows) while dragging. |
| Size it | Drag a corner. Shift keeps to steps of 10%. |
| Turn it | Drag the round handle above it. Shift keeps to steps of 15°. |
| Nudge it | Arrow keys move it a pixel, ten with Shift. |
| Delete it | Delete or Backspace. |
| Let go of it | Esc, or click the piece or the space round the frame. |
A video or piece that fills the frame, and a playable piece, can't be clicked on the stage until you select it in the Layers list.
Transform
X and Y are where the layer's middle sits, across and down the frame. Top, Upper, Middle, Lower and Bottom beside the heading put it at common heights. Scale sizes it and Rotation turns it, both about its middle, and Opacity fades it.
Blend and effects
Blend sets how the layer mixes with the piece and the layers under it: Normal, Darken, Multiply, Colour burn, Lighten, Screen, Colour dodge, Add, Overlay, Soft light, Hard light, Difference, Exclusion, Hue, Saturation, Colour or Luminosity. A render looks the same as the stage.
The filters are Blur (a share of the frame's shorter side, so it looks the same at any size), Brightness, Contrast, Saturation (0 is black and white) and Hue (turns every colour round the colour wheel). Reset takes the blend and filters back to none, keys and all.
Entrances and exits
Under Timing, In is when the layer appears and how, and Out is when it goes and how:
- Cut: no transition.
- Fade, Rise, Drop and Pop (grows into place).
- Slide from right and Slide from left.
- Type on: the words appear a letter at a time. Text layers only, coming in.
An entrance or exit takes under half a second, less for a short layer. A layer that runs to the end of the timeline stays up rather than leaving as the video ends.
Animating a layer
Every row under Transform and Blend and effects has a ◆ button. Click it to key that value at the playhead; it lights up once the property has a track, and fills when there is a key at the playhead (click again to remove that key). The layer's tracks appear under its bar on the timeline.
You can also animate by handling the layer. With Record on, a drag, a resize or a turn on the stage (or a change in Transform) is keyed at the playhead when the property already has keys, or when the timeline is held at a moment past the start. A first key past the start comes with one at 0 holding where the layer was, so it moves from there. While you drag, the readout at the top of the stage says ◆ Key at and the time.
Otherwise, at the start, while playing or with Record off, a change places the layer: if it moves, all of its keys move along with it.
Timing on the timeline
Each layer has a bar on the Timeline tab. Drag it to move it in time, drag either end to trim it, and double-click it to edit the layer. Its edges snap to the playhead, keyframes and other bars, with a guide line; hold Shift to place it freely. Select a bar and the inspector shows Layer timing, with its In and Out.
Drop an image, a font or a video from your assets onto the timeline's lanes and the layer starts at that moment (a video runs for its own length).
Order
The Layers list shows the frontmost layer at the top. Hover a layer for Bring forward, Send back and Delete the layer. A piece can have up to 32 layers.
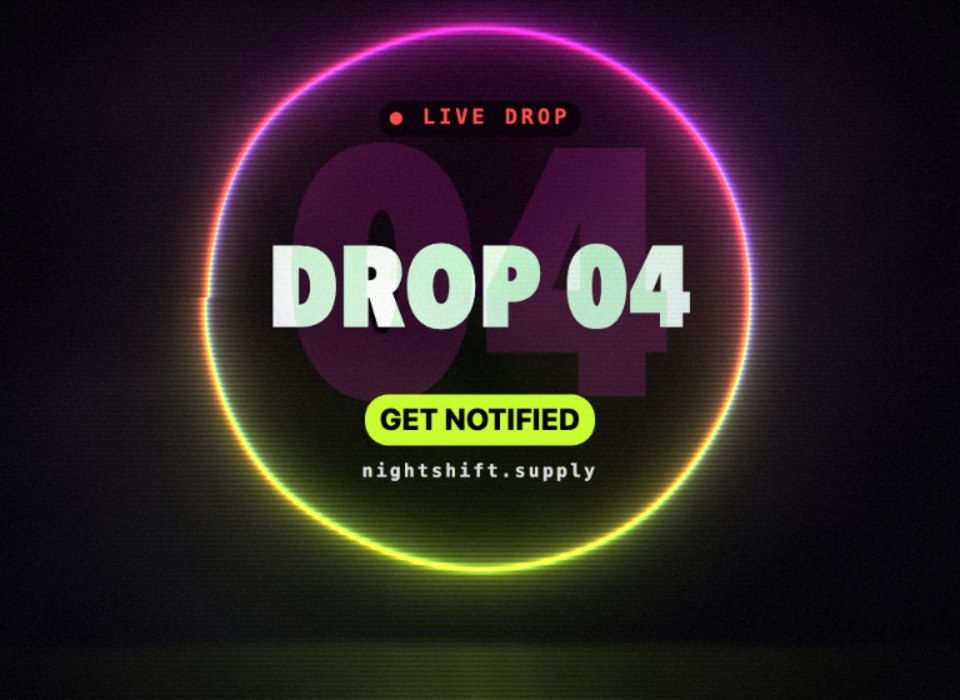 Drop DayGLSLA release teaser: a neon portal glitching on the beat, and every word a layer you can edit.Open in the studio
Related
Still stuck, or something here out of date? Tell us