Motion and timeline
Keyframes and tracks
Animate any control over time, with easings, and record changes as you play.
A track animates one parameter of the piece over the timeline. Each keyframe on it holds a value at a moment, and between two keys the parameter moves from one value to the next along the first key's easing. A camera that drifts in, a colour that warms over six seconds, a bloom that opens on the beat: each is one track.
Everything here happens on the Timeline tab of the Motion panel. Press M to open it (see The Motion panel).
What can move
Any parameter that is a number (a slider), a colour, a switch or a choice can have a track. Numbers and colours blend smoothly between keys. Switches and choices can't be halfway, so they change at the next key.
A layer's position, size, turn, opacity and filters have tracks too. They sit under the layer's bar on the timeline and work the same way; see Text, image and video layers.
Recording changes with Record
The quickest way to animate is to play with the parameters and let the timeline write it down.
Check Record is on
Record is in the panel's header. It starts on, with a red dot.
Put the playhead where the change should land
Click or drag along the ruler to scrub there. Scrubbing pauses the piece and holds it at that moment.
Change a parameter
Open Parameters (P) and move a slider, pick a colour or flip a switch. A keyframe lands at the playhead. The first change to a parameter makes its track, with one key that holds the value for the whole timeline.
Move on and change it again
Scrub to another moment and change the same parameter. Now the track has two keys, and the parameter moves between them as the timeline plays.
Record keys changes only while the Timeline tab is showing (on the States tab it writes into the selected state instead). It keys whatever you change, words in a text box included. Switch it off, or change parameters from another tab, when you want to tune the piece without keying anything.
Adding a keyframe by hand
Add a track
Click Track (with the plus, above the track names) and pick a parameter. The menu lists every parameter that can move and doesn't have a track yet, with its folder beside it. The new track starts with one key at 0, holding the value the parameter has now.
Click the lane where you want a key
Clicking a track's lane adds a keyframe at that moment and moves the playhead there. The new key takes the value the track already has at that moment, so nothing changes yet.
Set its value
The inspector on the right shows Keyframe and the parameter's name. Change Value there, or change the parameter in Parameters with Record on.
Choose how it moves on
To next sets the easing from this key to the next one. The last key holds its value to the end.
Editing keyframes
- Select a key by clicking it. The playhead jumps to it and the inspector shows its Time, Value and To next.
- Move a key by dragging it along its lane. Keys snap to frames (sixtieths of a second); hold Shift while dragging to place it freely. You can also type its Time.
- Delete the selected key with Delete or Backspace, or the bin in the inspector.
- Key the current value with the ◆ button that appears when you hover a track's name: it keys the parameter's value at the playhead.
- Remove a track with the × beside the ◆.
Before its first key a track holds the first key's value, and after its last key it holds the last one's.
Easings
| Easing | How the value moves to the next key |
|---|---|
| Linear | At a steady speed. |
| Ease in | Starts slowly and speeds up. |
| Ease out | Starts fast and slows into the next key. |
| Ease in-out | Slow at both ends. A new key uses this. |
| Hold | Stays put, then jumps to the next value at the next key. Hold keys are drawn with sharp corners. |
| Overshoot | Runs a little past the next value and settles back onto it. |
Playing, scrubbing and the length
- Drag the ruler to scrub. The playhead snaps to frames; hold Shift to scrub freely.
- Space plays and pauses. Back to the start holds the piece at 0.
- Length sets how long the timeline runs, from 0.5 seconds to two minutes. A render runs exactly that long by default.
- The loop button beside Length switches between Loops and Plays once, which holds the last frame.
A paused piece is held at the playhead, so a 3D scene or a shader shows that exact moment while you work on it.
Limits
A timeline holds up to 64 tracks, each with up to 200 keyframes, and runs up to two minutes.
Examples
Both of these pieces are built on a timeline. Open one and press M to scrub it.
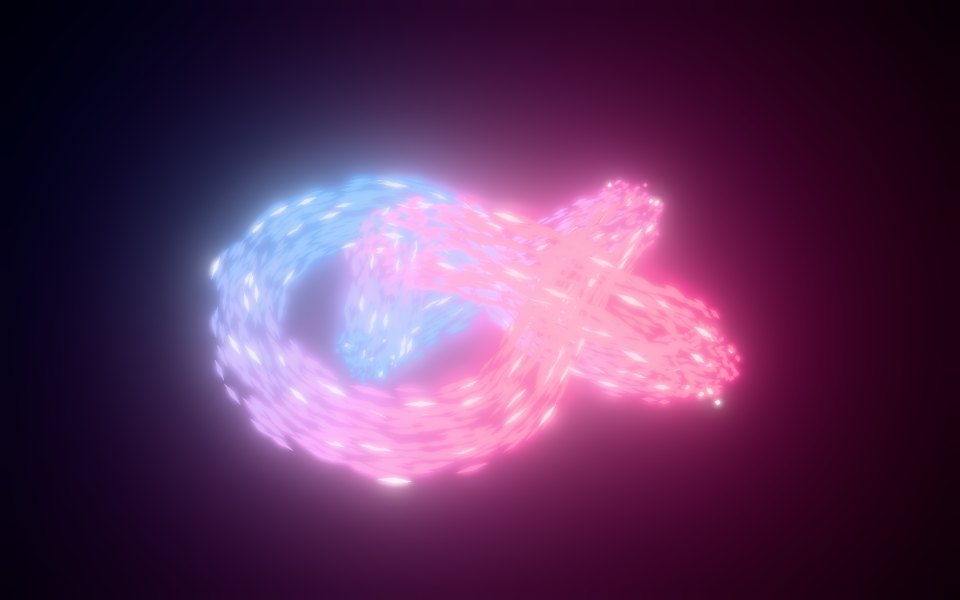 GatheringWebGL 3DShards of light gather into a knot, bloom open and scatter, on an eight second timeline.Open in the studio
 DaybreakGLSLA paper-cut valley going from night to morning and back, balloons rising, on a ten second timeline.Open in the studio
Related
Still stuck, or something here out of date? Tell us